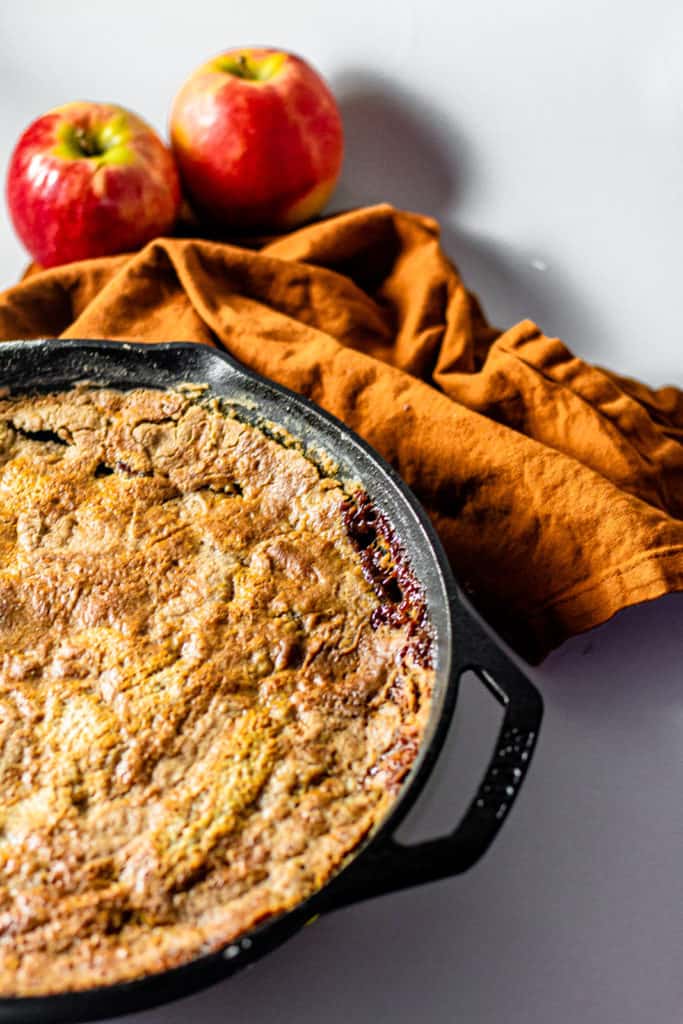
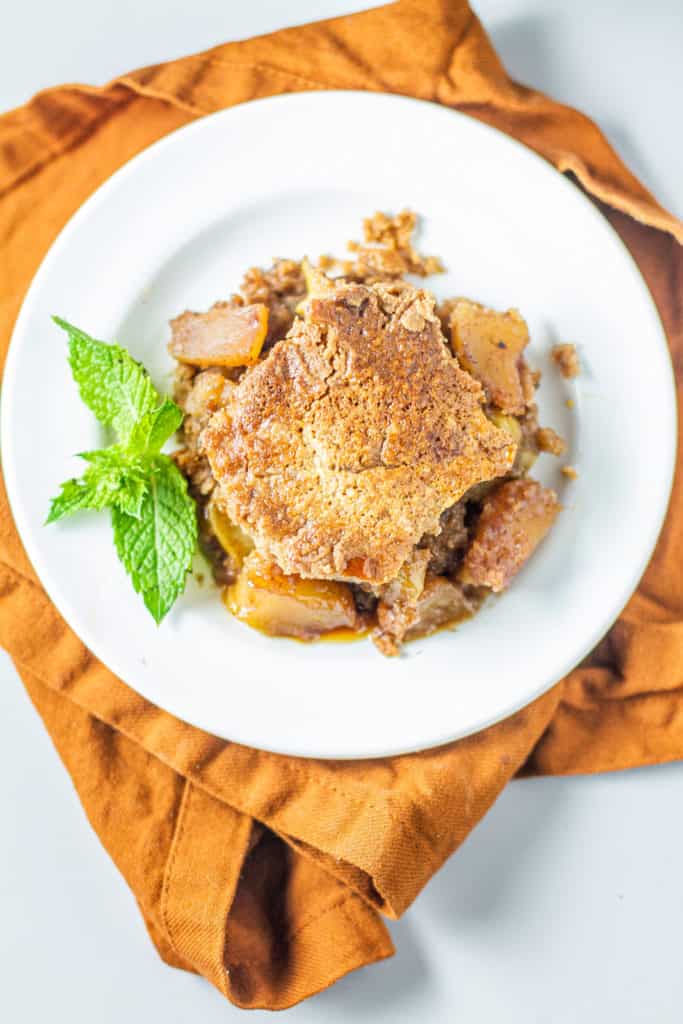
Who wouldn’t love tender sweet and juice apples, layered under a buttery, warm, spiced cake? This recipe for Apple Dump Cake is the easiest dessert you never knew you needed. It’s sure to delight your fall-loving taste buds and will leave your house smelling amazing with its warm spiced apple goodness.
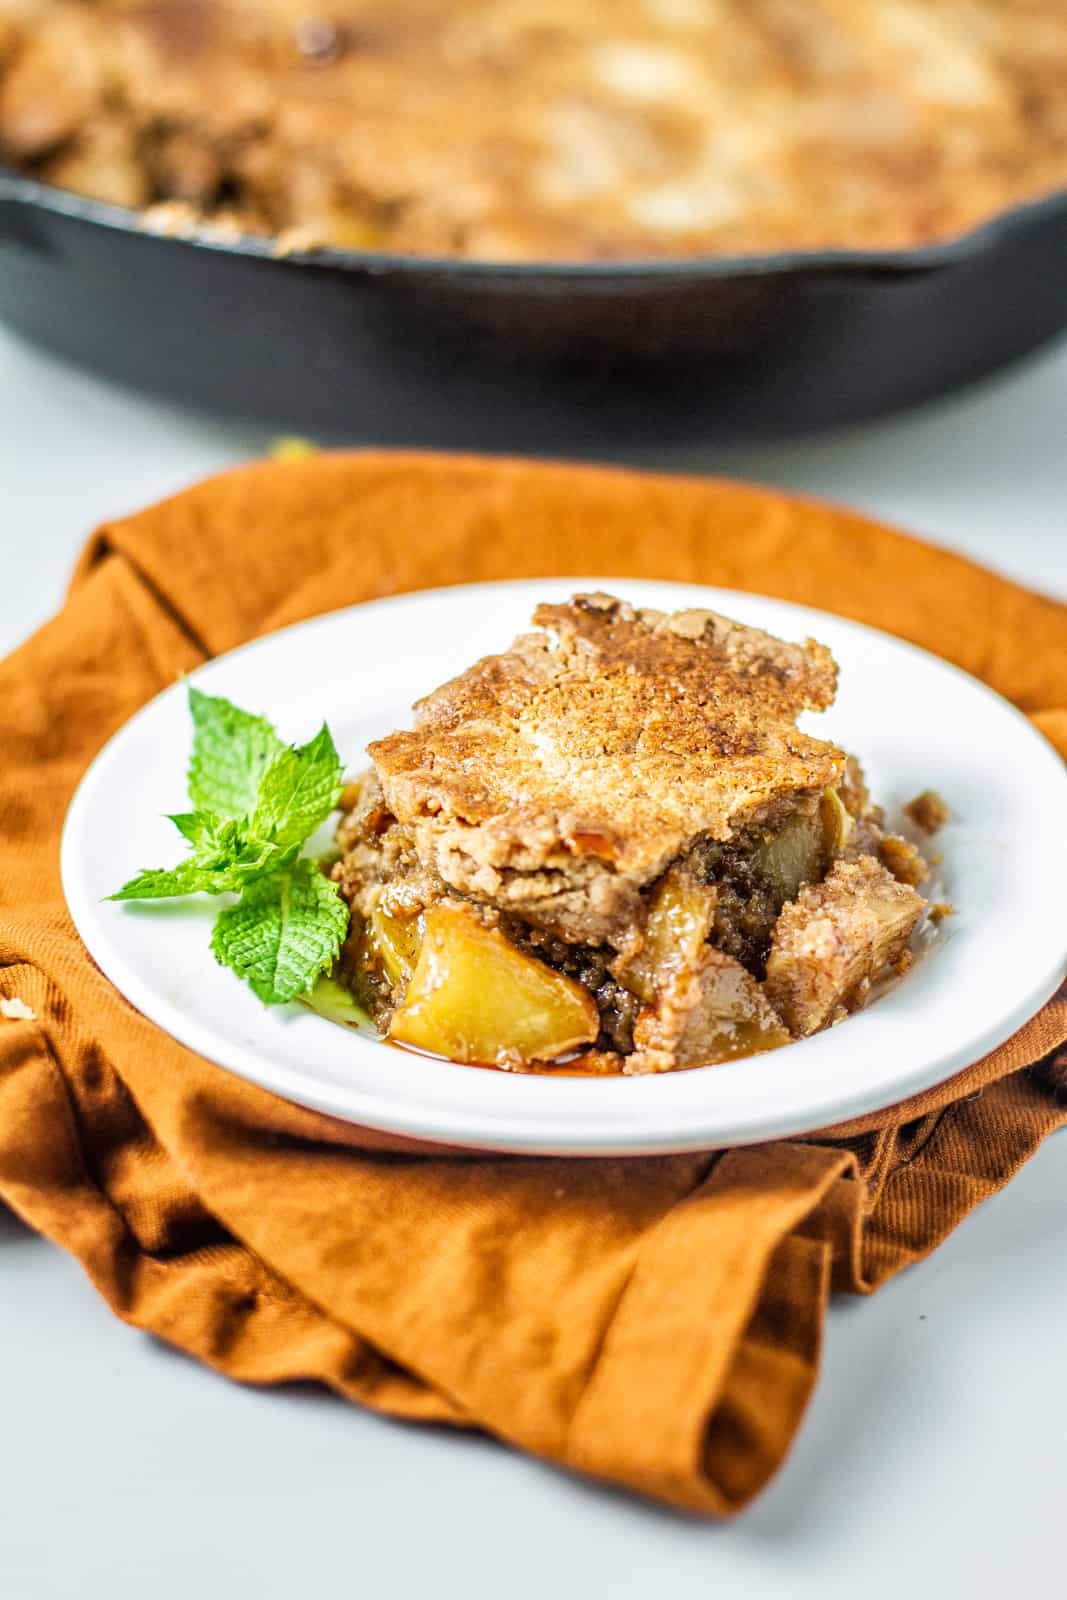
Apple Dump Cake
Can’t bake to save your life? Think again. This recipe for Apple Dump Cake is the perfect blend of semi-homemade deliciousness that will leave you and your guests asking for more.
Why? Because who wouldn’t love tender sweet apples layered under a buttery, warm, spiced cake.
Not Your Typical Apple Dump Cake
There are so many Apple Dump Cake recipes out there that use apple pie filling, which is a fine substitute and, as you would imagine, a good shortcut to save time. However, this Apple Dump Cake is made with fresh apples instead of apple filling, plus a handful of pantry stables like cake mix and warm spices.
I sacrificed convenience for quality because I tested both fresh and canned apples in this recipe and 6 attempts —fresh apples absolutely stole the show. There is a significant improvement in taste and texture. I mean really significant. I couldn’t go out like that y’all.
I can’t share anything but the best cause I at the end of the day. I need you to tell me you tried the recipe, loved it and your taste testers ranted and raved about how you put your foot in that dish. In this recipe, the fresh apples get you there!
Key Ingredients
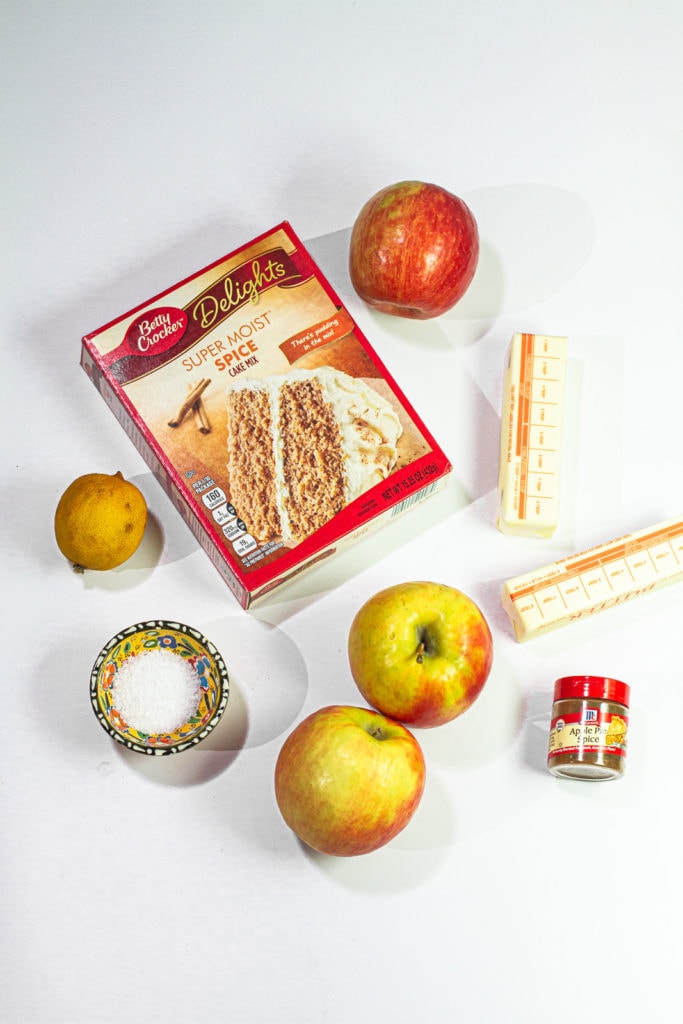
To make this mouth-watering dessert, you’re going to need the following key ingredients:
- Apples. My favorite apples to use in this dish are Honeycrisp apples. That being said, feel free to use any kind you like! Gala and granny smith work great too, or you could even use a combination of your favorite fresh apples.
- Spice cake mix. You can use a pre-packaged box of spice cake mix or make your own from scratch—it’s totally up to you. In the recipe card below, you can find the recipe for homemade spice cake.
- Sugar. You will need both honey and brown sugar for this dreamy recipe. If you don’t have both, feel free to use all of one or the other. I prefer the combo for a deeper depth of flavor.
- Unsalted butter. If you only have salted butter, just leave out the additional salt in the recipe.
- Lemon juice. This adds a bit of acid that brightens the dish and enhances all the flavors, making the cake even more delicious!
- Apple pie spice. If you don’t have apple pie spice or pumpkin pie spice, cinnamon will work fine.
How to make Apple Dump Cake?
Ready to make the best Apple Dump Cake you’ve ever had? Just follow these simple steps:
- Preheat the oven to 350°F, then spray a 12″ cast-iron skillet (or a 9×13 baking dish) with cooking spray.
- In a large bowl, add the apples, honey, brown sugar, pie spice, salt, and lemon juice. Stir until the apples are evenly coated.
- Pour the apple mixture into the skillet, using the back of a wooden spoon to press the apples down into an even layer without large gaps.
- Pour the dry cake mix on top of the apple mixture, using a spoon or spatula to smooth it into an even layer that spreads across the entire skillet. Evenly distribute the butter on top, covering the skillet completely.
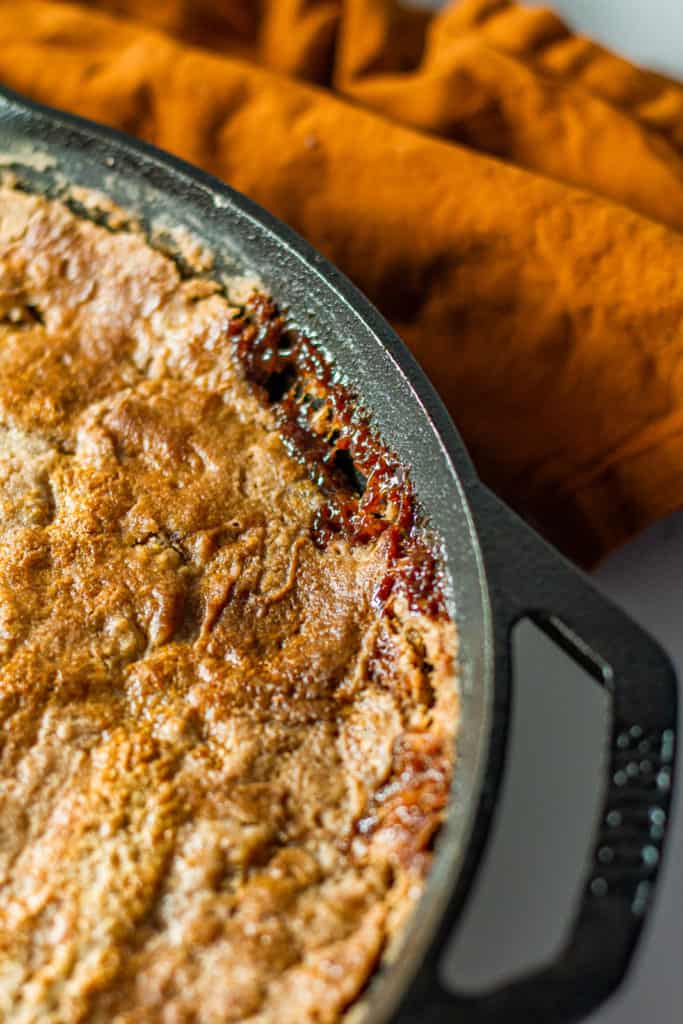
- Bake for 45 minutes, or until the top is golden brown with juices bubbling around the edges. Let cool for 20 minutes, then enjoy!
What is a Dump Cake?
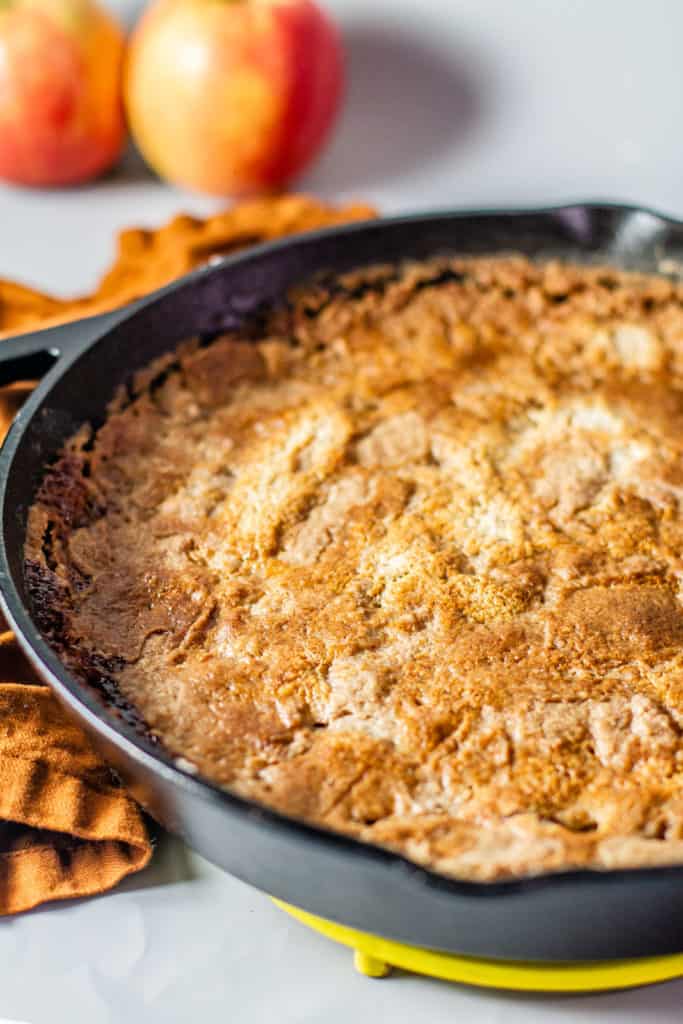
Imagine that a cake and a cobbler had a baby. That baby would be a dump cake! That’s the easiest way to explain what a dump cake is. Its name comes from the fact that the cake ingredients are quite literally dumped into the baking dish.
While many desserts take precision and attention to detail to produce results, this easy apple dessert recipe knocks it out of the park every time, regardless of your skill level.
Meiko’s Pro Recipe Tips
- Apple Picking: I used Honeycrisp apples for their balanced sweet-tart personality and sturdiness when baked. For something more tart, I would recommend Granny Smith apples because they too are known for holding their structure in the oven.
- How To Make The Cut: When using fresh apples, it’s best to chop versus slice them. I tried both methods but when I sliced the apples, it created huge gaps in the foundation of the cake. With smaller chopped apples, you can fill those gaps better, kind of like playing Tetris.
- Layers Matter: Even layers make all the difference. Take the time to evenly spread out each layer so that the ingredients meld together well.
- Butta It Up: Use pats of butter to achieve even distribution. Freezing the butter for about 10 minutes before slicing, with either a knife or vegetable peeler, is a surefire way to get really thin slices (at least 20 pats per stick!), which ensures the top gets completely covered and comes out golden brown.
Why it’s worth it?
You might be wondering why you should bake an apple dump cake from scratch when you could find something similar at your local grocery store. Am I right?
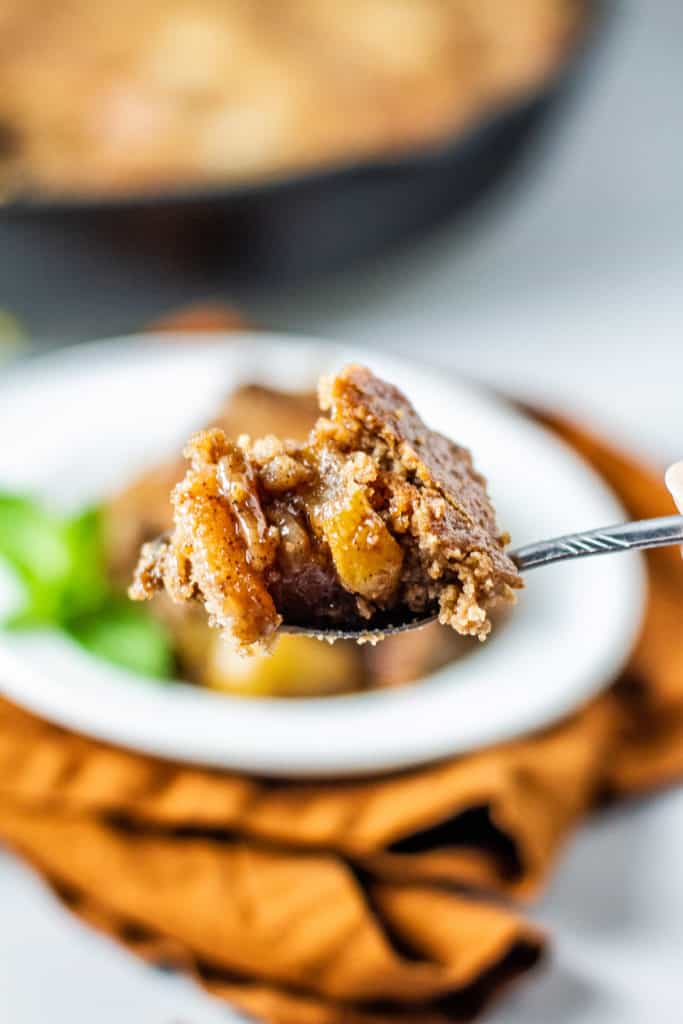
While I could list a million reasons why this delicious cake recipe is worth trying, I’ve narrowed it down to just a few. Here are some of the reasons why this apple dump cake recipe is worth the effort:
- This recipe produces the kind of flavor you won’t find in a store-bought cake.
- It’s actually really easy to make.
- You probably already have most of the ingredients at home.
- It yields 8 servings, so it’s the perfect size for your next dinner party.
How to Store Apple Dump Cake?
When it comes to storing leftovers of this tasty apple cake, you have a few options to choose from. First things first, you must always transfer your cooled cake to an airtight storage container. Once it’s been properly stored, you can store your apple dump cake at room temperature for up to 1-2 days or in the fridge for up to 3 days.
Because of the consistency of this dish, I don’t recommend storing it in the freezer. When thawed, the texture is likely to become altered in an unpleasant way. Don’t worry; this cake is so delicious you probably won’t wind up with many leftovers anyway!
More Delicious Dessert Recipes
Still, craving more? Check out these dessert recipes next:
- Blackberry Naked Cake
- 7UP Pound Cake– Grandbaby Cakes
- Candied Yam Casserole With Brown Sugar Streusel
- Cast Iron Buttermilk Cinnamon Rolls
Now it’s your turn!
So, what are you waiting for? Get your apples ready and whip up this delicious Apple Dump Cake recipe to welcome in the fall. You’ll want to make it year after year. Until next time… happy apple baking!
If you enjoy the recipe, please share it with your friends and family. And don’t forget to give me some five-star love down below. And if you have any comments or questions, leave them below too, and I’ll be sure to get back to you as soon as possible.

Apple Dump Cake
Ingredients
Apple Dump Cake
- 4 medium Honeycrisp apples peeled, cored, & chopped into ½-inch pieces
- ¼ cup honey
- ¼ cup light brown sugar
- 2 teaspoons apple pie spice or pumpkin pie spice
- ¼ teaspoon kosher salt
- 2 tablespoons lemon juice freshly squeezed
- 15 oz box of spice cake mix
- 1 cup unsalted butter 2 sticks, frozen & thinly sliced
Spice Cake Mix
- 2 ¼ cups all-purpose flour
- 1 ¼ cups brown sugar
- 3 ½ tsp baking powder
- 3 ½ tsp apple pie spice
- 1 tsp salt
Instructions
- Heat the oven to 350°F. Spray a 12-inch cast-iron skillet with cooking spray. (If you don’t have one, you can use a 9×13-inch baking dish instead.)
- Stir the apples, honey, brown sugar, pie spice, salt, and lemon juice in a large bowl until the apples are evenly coated. Pour this mixture into the prepared skillet. Use the back of your wooden spoon to press down the apples into an even layer, preventing large gaps.
- Pour the dry cake mix on top of the apples and use a spoon or flexible spatula to smooth into an even layer, all the way to the edges of the skillet. Evenly distribute the sliced butter on top, covering completely.
- Bake for about 45 minutes until the top is golden brown and you see the juices bubbling around the edges of the skillet.
- Let cool for 20 minutes before serving.
Notes
Nutrition
Equipment
*Nutrition information is a rough estimate.
**The equipment section above contains affiliate links to products I use and love. As an Amazon Associate I earn from qualifying purchases.


