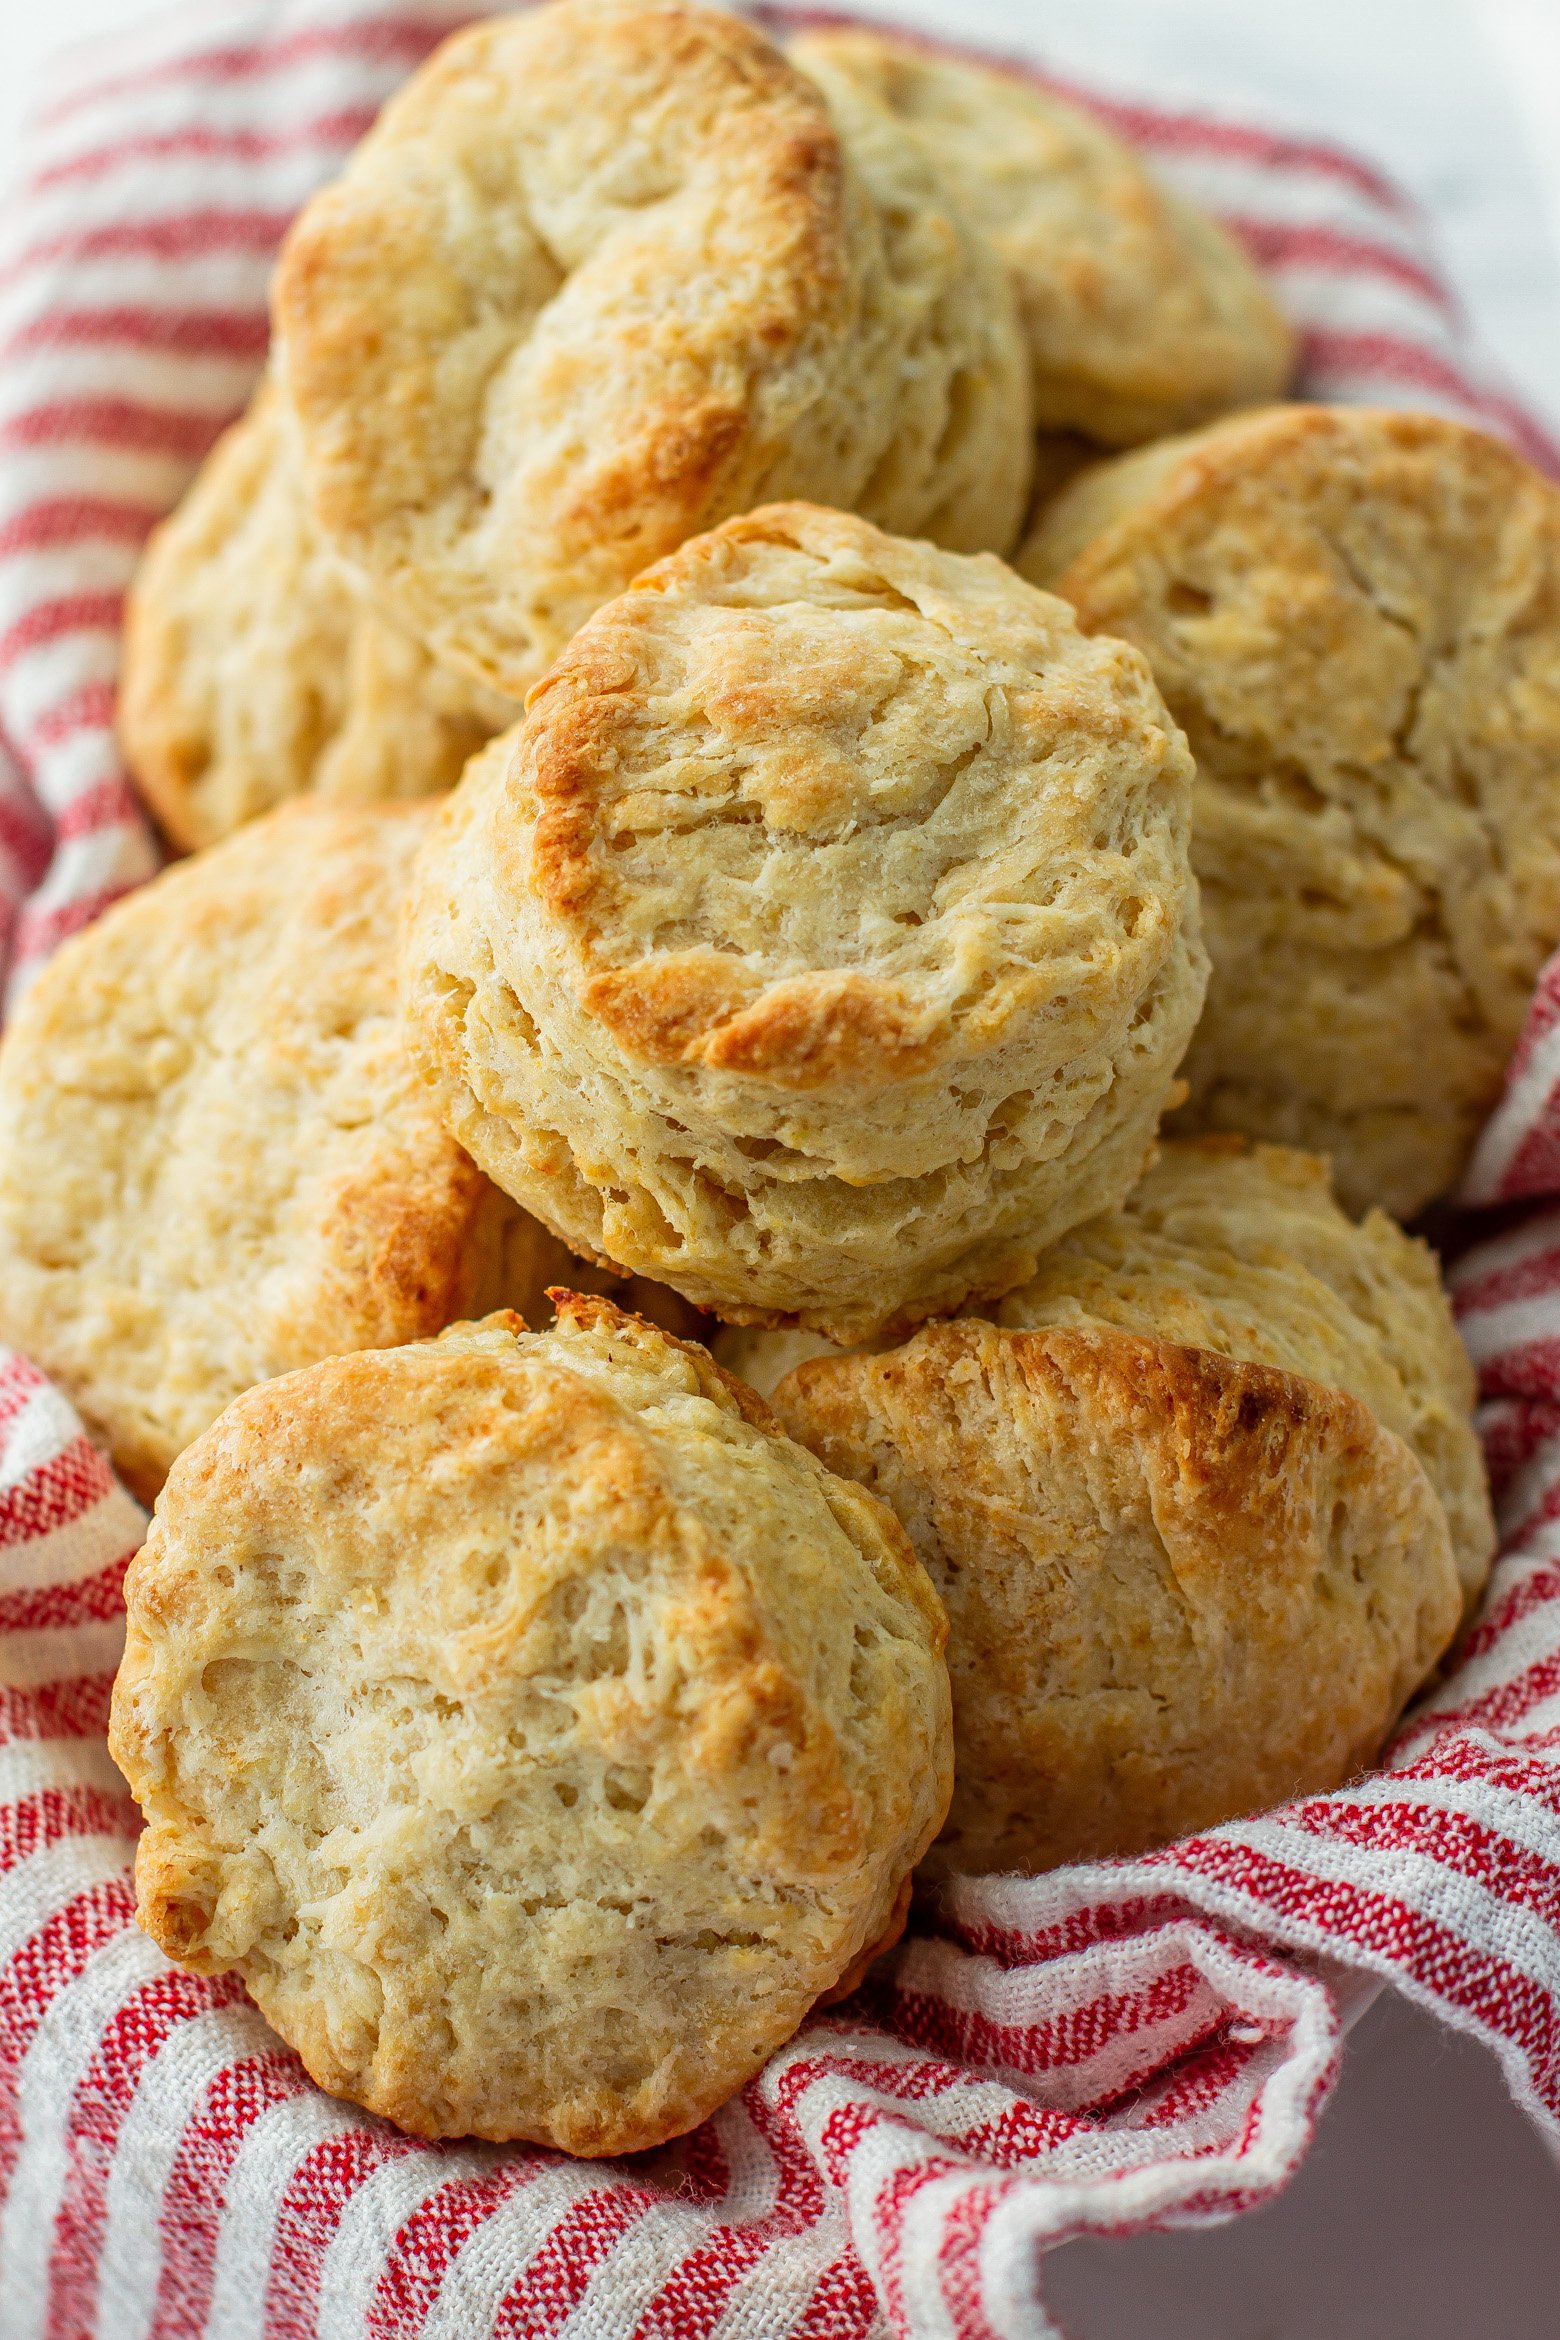
Okay, buckle up fam ’cause this recipe for Better Than “Old Fashioned” Buttermilk Biscuits is the real deal! These biscuits are straight-up heavenly – fluffy, tall, and tender, with just the right amount of buttery goodness. And the best part? It doesn’t take a ton of work and you’re done under 30 minutes.
Need A Quick Meal Plan? Looking for a quick and easy meal plan that pairs perfectly with southern buttermilk biscuits? Look no further! I’ve got you covered with a balanced menu of delicious options.
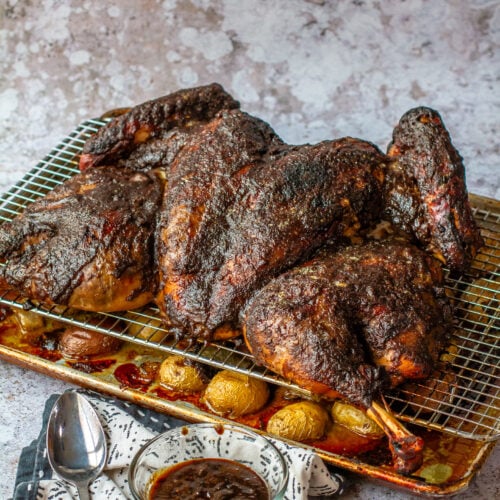
- Entree: Crispy Fried Chicken with Pepper Jelly Molasses
- Side: Baked Mac and Cheese
- Veg: Instant Pot Greens
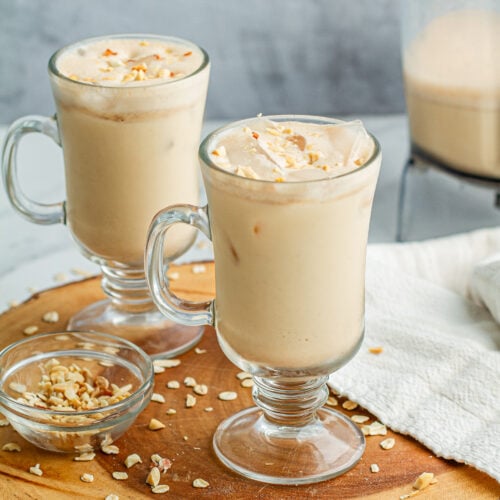
- Drink: Southern Sweet Tea
All of these dishes have classic southern flavors that complement the rich and buttery taste of buttermilk biscuits. They’re also easy to make and perfect for a quick and satisfying meal.
What Are Old Fashioned Buttermilk Biscuits?
Listen, there’s nothing quite like waking up to the smell of freshly baked old fashioned buttermilk biscuits on Sunday morning. When my aunties and grandmas made Old fashioned biscuits they used simple ingredients like flour, buttermilk, and lard or crisco and baked them in a cast iron skillet to get that perfect crispy exterior while keeping the inside light and cakey. No doubt, their techniques are timeless.
And this recipe for, dare I say, “Better Than Old Fashioned Buttermilk Biscuits” takes the classic simplicity of classic buttermilk biscuits and elevates it to a whole new level with a few non-fussy modern techniques, that result in “extra, uber, ultra” flaky, tender, and buttery biscuits.

Super Easy Buttermilk Biscuit Recipe
Friend, step away from the Bisquick box, ok?! Bisquick & Pillsbury got us in a choke-hold, but homemade buttermilk biscuits really are easier to make from scratch than you think. I promise!
There’s nothing quite like a warm and flaky buttermilk biscuit straight from the oven. The baking biscuits immediately fill the room with a comforting butter and warm yeast aroma. They are the epitome of Southern comfort food. And while making these delicious biscuits might seem intimidating, but it’s easier than you think and absolutely worth the effort.
I’ve tested (probably less testing and more just eating) this biscuit recipe 100’s of times and it is SOLID. I can assure you that if you follow the steps as instructed, you will get perfect mile high buttery layered biscuits every time.
What You’ll Need For This Recipe
- All-purpose flour: This is the main ingredient for the biscuit dough. I prefer using White Lily flour for a tender texture, but any all-purpose flour will work.
- Baking powder: This leavening agent is what makes the biscuits rise in the oven.
- Baking soda: This ingredient also helps the biscuits rise, but it also neutralizes the acidity in the buttermilk for a balanced flavor.
- Salt: I prefer using kosher salt to enhance the flavor of the other ingredients in the recipe.
- Granulated Sugar: This adds just a touch of sweetness to the biscuits and also helps with browning.
- Cold Butter: This is a crucial ingredient for both the biscuit dough and the buttery flavor. Make sure to use cold, unsalted butter for best results. If you only have salted butter on hand, omit the additional salt called for in the recipe.
- Cold Buttermilk: This ingredient is a triple threat as it helps with the rise, moistness, and flavor of the biscuits. Using full-fat buttermilk is recommended for the best results. Don’t skip this ingredient if you want tender and moist biscuits.

How To Make Easy Buttermilk Biscuits From Scratch
For the full recipe and detailed baking instructions, please see the recipe card at the end of this post.
- Whisk together dry ingredients:
- Fold in butter and buttermilk until the dough pulls away from the bowl.
- Turn the dough out onto a lightly floured surface and form a rectangle. Fold the rectangle in thirds and repeat 3 times. (detailed instructions in the recipe card below)
- Roll or flatten the dough and use a 2-inch cookie cutter to cut out 12-15 biscuits.
- Place the biscuits on a baking sheet and brush with melted butter.
- Place into a 450°F preheated oven and bake biscuits for 12-15 minutes or until golden brown. Serve warm.
MEIKO”S PRO TIP: HANDLE WITH CARE
Did you know that the secret to making perfectly flaky biscuits is to handle the dough as little as possible? Overworking the dough will develop the gluten and result in tough, chewy biscuits. I often use a chilled metal bench scraper so I don’t warm the dough with my hands. By handling the dough as little as possible, you’ll get the best biscuits ever that are tender and fluffy, with just the right amount of flakiness.
Difference Between Flaky & Fluffy Biscuits
Before we dive into the specifics of this recipe, let’s talk about the difference between flaky and fluffy biscuits. Fluffy biscuits are tall, soft, and almost cake-like in texture. They’re made by incorporating more liquid into the dough, which creates more steam and makes the biscuits rise higher. Flaky biscuits, on the other hand, are shorter and have a more crumbly exterior. They’re made by cutting cold butter into the dough, which creates layers of butter that melt in the oven and create pockets of air.
So, which type of biscuit is better? Well, that depends on your personal preference and what you’re serving them with. Fluffy biscuits are great for topping with jam or gravy, while flaky biscuits are perfect for making breakfast sandwiches or just enjoying on their own. However, if you can’t decide between the two, why not have the best of both worlds? This recipe for Better Than “Old Fashioned” Buttermilk Biscuits combines the flakiness of restaurant style biscuits with the light and tender texture of fluffy traditional biscuits, resulting in the perfect balance of both.

Meiko’s Pro Tips For Perfect Buttermilk Biscuits Every Time
- Measure the flour properly. Start by fluffing flour with a spoon, then scooping your flour into a measuring cup. Use the straight edge of your knife to level off the flour using a gentle scraping motion. Avoid vigorously stirring or pressing down on the flour, as this can densify the flour and result in dense, heavy biscuits.
- Don’t twist the biscuit cutter. Twisting the biscuit cutter as you cut out your dough can cause your biscuit to not rise properly. Instead, gently press straight down and lift as you cut out each biscuit.
- Don’t overwork the dough. You want to handle the biscuit dough as little as possible. Overworking the dough will result in tough, dense biscuits.
- Refrigerate Your Tools. I’ve found that throwing in my bowl, rolling pin, and biscuit cutter (and any other tools) in the fridge for about 20-30 minutes before getting started helps keep the butter from melting into the dough, which is essential when trying to create light and fluffy layers.
- For extra flaky biscuits, I suggest using frozen butter. Freezing the butter in advance makes it easier to grate, and grating the butter helps distribute it evenly in the flour mixture, so you get butter flavor in every bite. It ensures that the butter stays in individual pieces throughout the mixing and shaping.
- Chill your biscuits before baking. After cutting out your biscuits and placing them on a baking sheet, pop them in the fridge for 10-15 minutes to chill. This helps to solidify the fat and will give you flakier, more tender biscuits. Cold butter or shortening melts slower than warm fat, resulting in more steam production during baking, which creates a lighter, flakier texture.
- Brush with butter. Brushing the tops of the biscuits with melted butter before baking gives them a beautiful golden color and extra flavor.
Make Head & Storing
Make-Ahead Instructions: Mix up the dough and cut out the biscuits. Pop them in the freezer on a baking sheet. Once they’re totally frozen solid, I transfer them to a storage container until I’m ready to enjoy these delicious little gems. Whenever I need an easy breakfast or dinner that’s sure to hit the spot, all I have to do is pop those tasty biscuits in the oven from frozen.
Storing Instructions: Store in an airtight container for up to a week in the refrigerator or at room temperature for 1-2 days.

Frequently Asked Questions
Why use buttermilk?
Buttermilk is an essential ingredient in making perfect southern-style biscuits. Its acidic nature reacts with the baking powder to create the fluffy, tender texture that we all know and love. Plus, it adds a tangy flavor that pairs perfectly with savory dishes.
Does the butter have to be cold?
Yes, yes, and YES! Cold butter is crucial in making fluffy, flaky biscuits. When cold butter hits the hot oven, it creates steam pockets that lift the dough and give it that coveted height. So, make sure to keep that butter in the fridge until you’re ready to use it.
How can I tell if my baking powder is still good?
If your baking powder is past its prime, your baked biscuits really will fall flat. To test if your baking powder is still good, drop a teaspoon of it into a cup of hot water. If it fizzes and bubbles, it’s good to go. If it doesn’t, it’s time to say goodbye
What can I substitute for buttermilk?
If you don’t have buttermilk on hand, don’t worry! You can make a quick substitute by adding a tablespoon of vinegar or lemon juice to a cup of milk. Let it sit for a few minutes, and voila! You have a tangy buttermilk substitute.
Why are my biscuits flat?
Oh no, flat biscuits are the worst! Here are a few reasons why they might not have risen to the occasion:
- Your baking powder or baking soda is expired or not fresh.
- You used the wrong type of liquid. Buttermilk is acidic, which reacts with the leavening agents to create lift and rise. Using regular milk or water won’t have the same effect.
- You used the wrong type of flour. Southern-style biscuits typically use all-purpose flour, which has a medium protein content. Using cake flour or bread flour can result in a flatter biscuit.
- Your butter or fat was too warm and melted into the dough, instead of creating steam pockets for rise.
- You didn’t fold the dough enough times. Folding helps to create layers and lift in the biscuits.
- You twisted the biscuit cutter instead of cutting straight down, which can seal the edges and prevent the biscuits from rising.
- You baked at too low of a temperature, which doesn’t allow for enough steam and lift.
- You opened the oven door too early or too often, which can cause the biscuits to collapse.
Do I need a biscuit cutter to make this recipe?
Technically, no but here’s my caveat. You can use a bench scraper, sharp knife or even a glass with a sharp edge to cut out the biscuits. However, keep in mind that the tool you use should cut the dough cleanly to prevent the edges from being compressed and inhibiting the biscuits’ rise. So, while a biscuit cutter is not an absolute necessity, it can definitely help you achieve a more uniform and professional look for your biscuits.

Before You Begin
Gather Your Tools
(Amazon affiliate links)- Check out all of my kitchen essentials here.
- Large Bowl
- Pastry Cutter
- Biscuit Cutter
- Pastry Brush
- Silicone Spatula
- Baking Sheet
Recipe Prep
- Read through the recipe. This is the first time making a particular recipe; take a couple of minutes to read it through from start to finish. I promise it will help you move through the recipe quicker when you understand what’s coming next.
- Freeze Butter and Refrigerate Tools
- Gather & measure out all the ingredients.
Here are a few more biscuit recipes that you’ll love
Hey, y’all! Can you believe we made it through all that biscuit talk? I’m not gonna lie, my mouth is watering just thinking about them. Layers of tender, buttery bread packed in the perfect golden brown morsel – Sheesh! Less than 30 minutes separates you from a little bit of heaven ! So what are you waiting for?

Ingredients
- 3 cups all-purpose flour plus more for rolling
- 1 tablespoon baking powder
- 3/4 teaspoon baking soda
- 3/4 teaspoon kosher salt
- 2 tablespoons sugar
- 10 tablespoons unsalted butter chilled & divided
- 1 1/4 cup buttermilk chilled
- 2 tablespoons unsalted butter melted
Instructions
- Preheat oven to 450°F.
- In a large bowl, whisk together dry ingredients: flour, baking powder, baking soda, salt, and sugar until thoroughly blended.
- Cut 8 tablespoons of cold butter into cubes and add it to the flour mixture. Use your hands, a fork, or a pastry blender to create a crumble. Use cold hands and try to work quickly, so the butter doesn’t melt.
- Create a well in the middle of the bowl. Pour in chilled buttermilk in the center of the well. Use the rubber spatula to fold the ingredients together and incorporate the wet with the dry. Continue to fold until the dough pulls away from the edges of the bowl. The dough should be crumbly.
- Pour the dough out onto a well-floured surface. Lightly flour your hands, then shape the dough into a rectangle approximately 10 inches long. Fold the rectangle in thirds, folding the left side into the middle, then the right side into the middle. Rotate the dough horizontally and repeat the folding in thirds again. Gather any crumbs, flatten the dough back into a rectangle and repeat the folding process 1-2 more times.
- Roll or flatten the dough into a rectangle one final time,(1 ¼ to 1 ½ inches tall). Use a 2-inch cookie cutter to cut out 12-15 biscuits. Repeat the process if you have any excess dough.
- Place the biscuits onto a prepared baking sheet or baking mat. Melt the remaining 2 tablespoons of butter and brush the tops of each biscuit. Place into the oven and bake for 12-15 minutes, or until golden brown. Keep pancakes warm in a 175°F oven until all pancakes are cooked.
Nutrition
*Nutrition information is a rough estimate.
**The equipment section above contains affiliate links to products I use and love. As an Amazon Associate I earn from qualifying purchases.